9 STEPS TO PRINTING A COLLAGRAPH
Collagraph printing is one of my favourite printing techniques. Below I explain the nine steps that I go through when I print a collagraph in the printmaking workshop.

1. Preparing the workspace: gather gloves, ink, oil to mix the ink with, a bit of rubber to put the ink on the plate and a bit of steel to mix the ink and oil. All set to start!
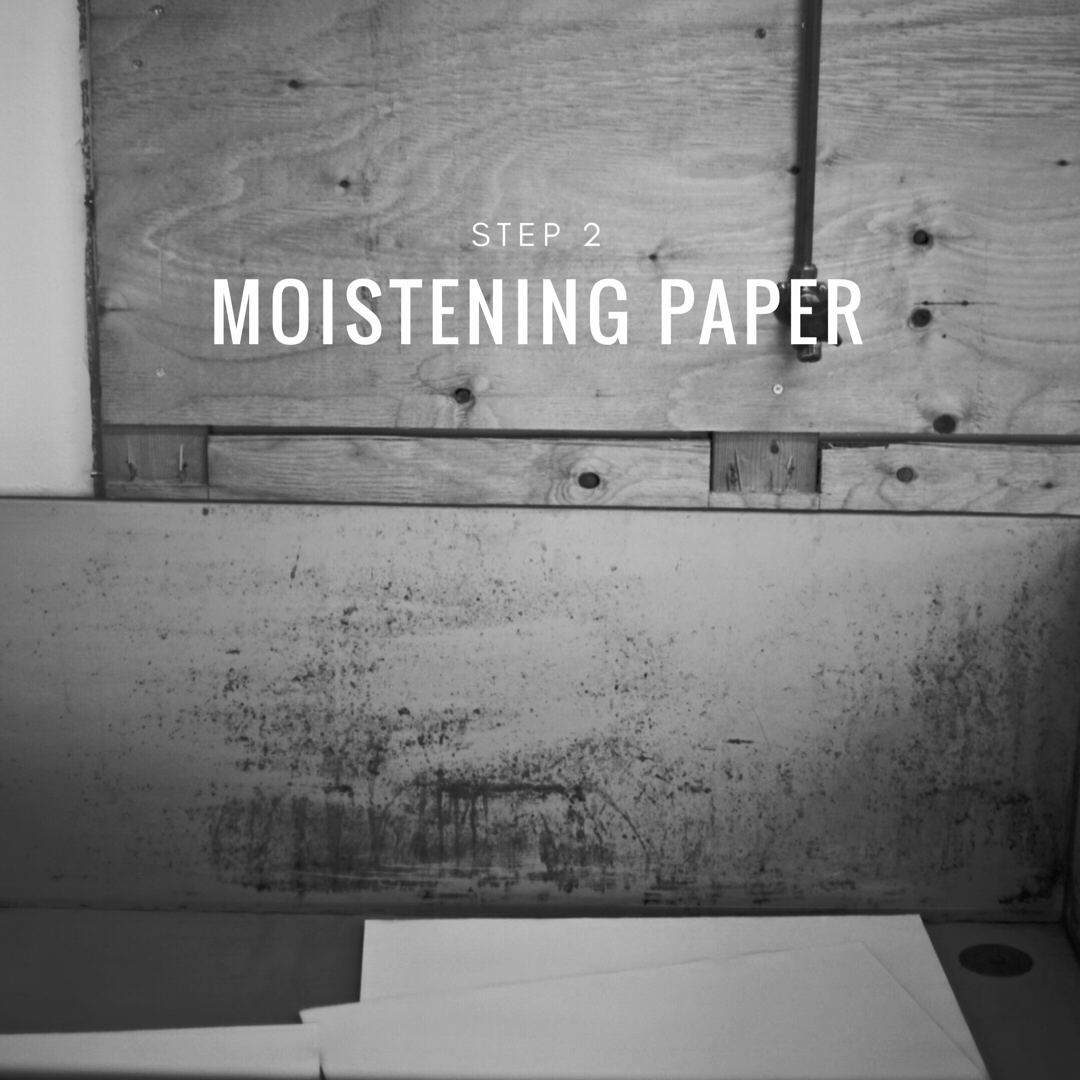
2. The paper needs to be moistened for at least 30 minutes. At the printing workshop we have a huge basin to do this.
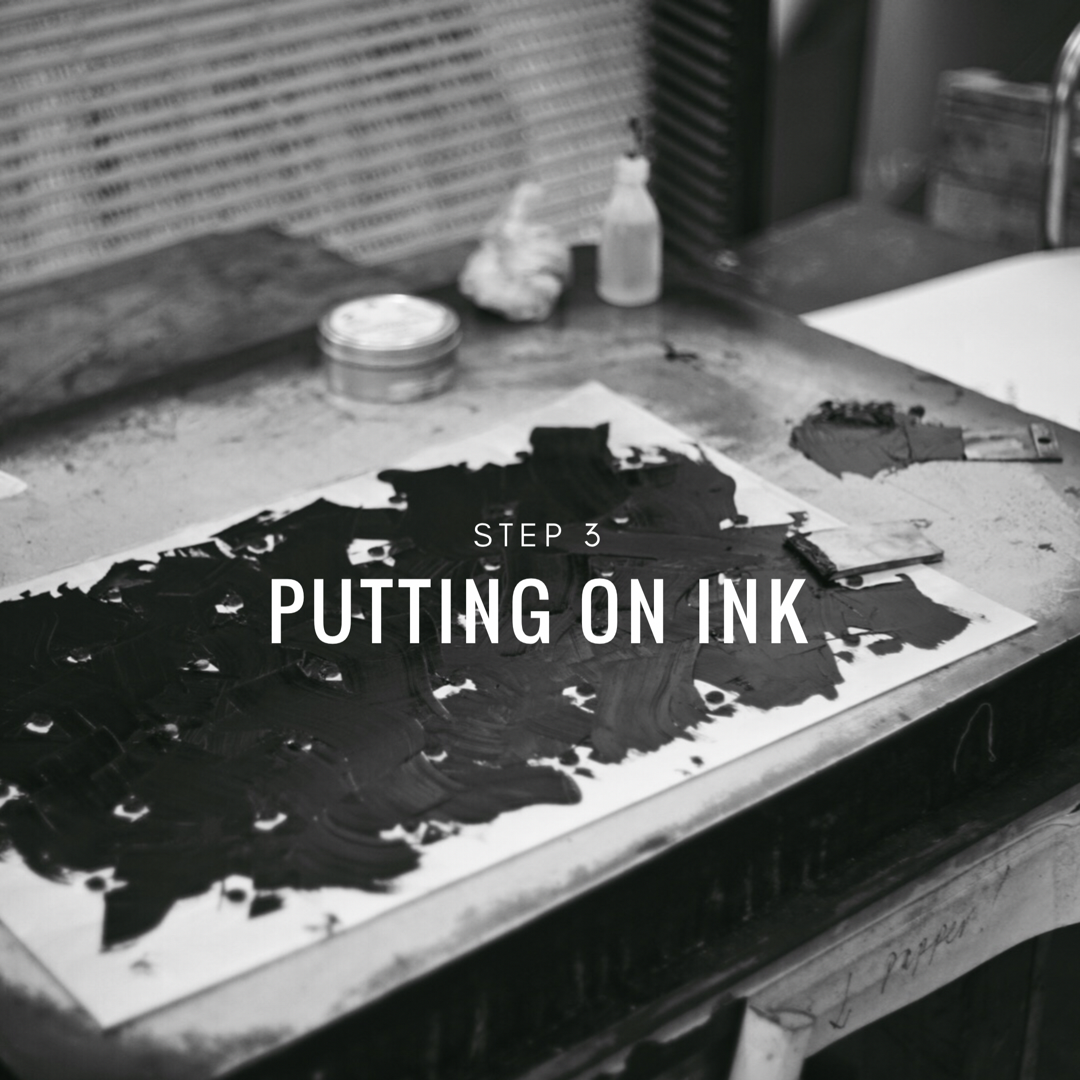
3. Putting on the ink: Apply it first with the rubber and then even it out with tartalan, a piece of cotton cloth.
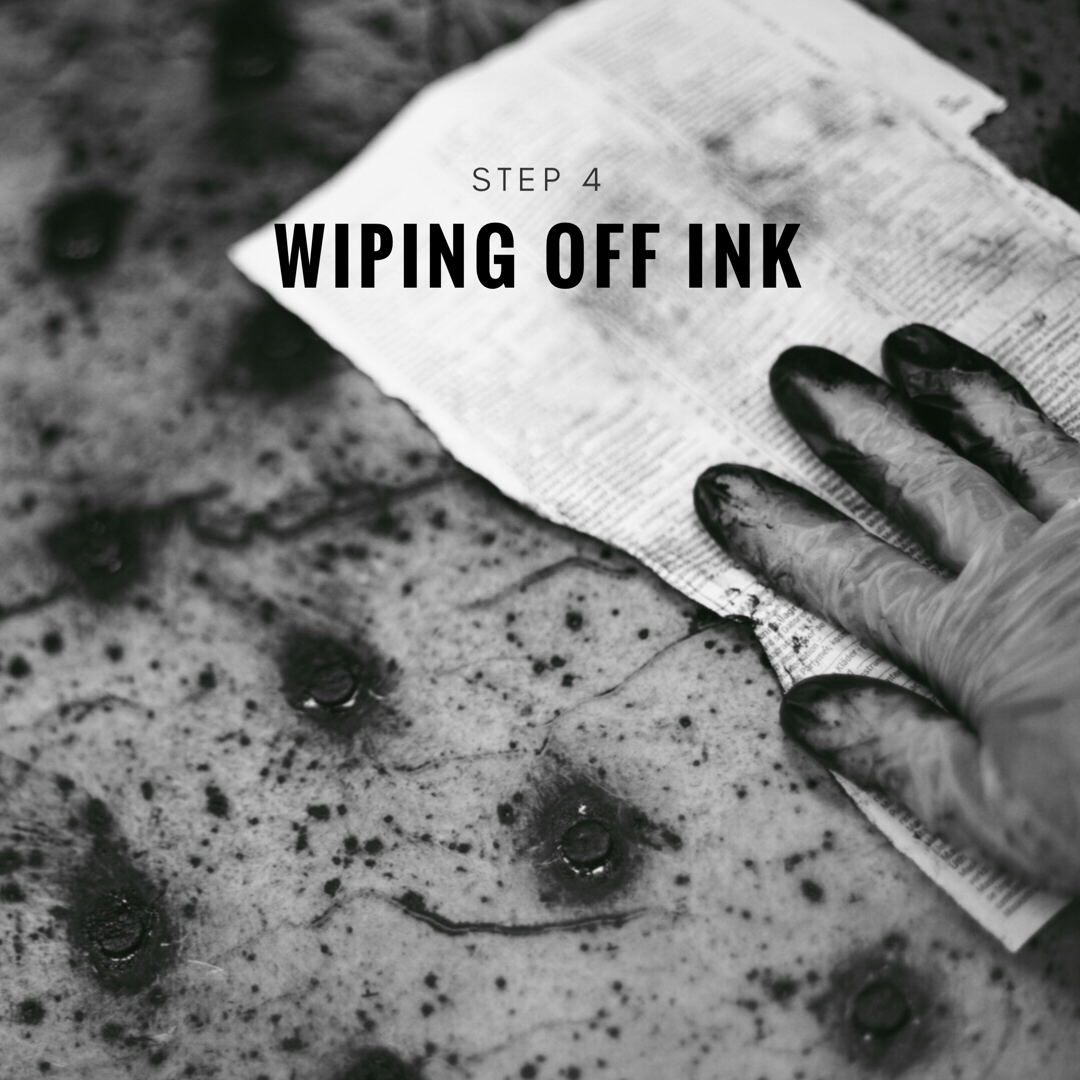
4. Wiping off the ink to expose the image: The ink will stay in the relief, at the edges and at the areas that are more even and glossy. It will stay on more textured materials and on materials that can soak up more ink. We use old telephone books to wipe.

5. Wiping off water is important to get the paper moist and flexible but not too wet.
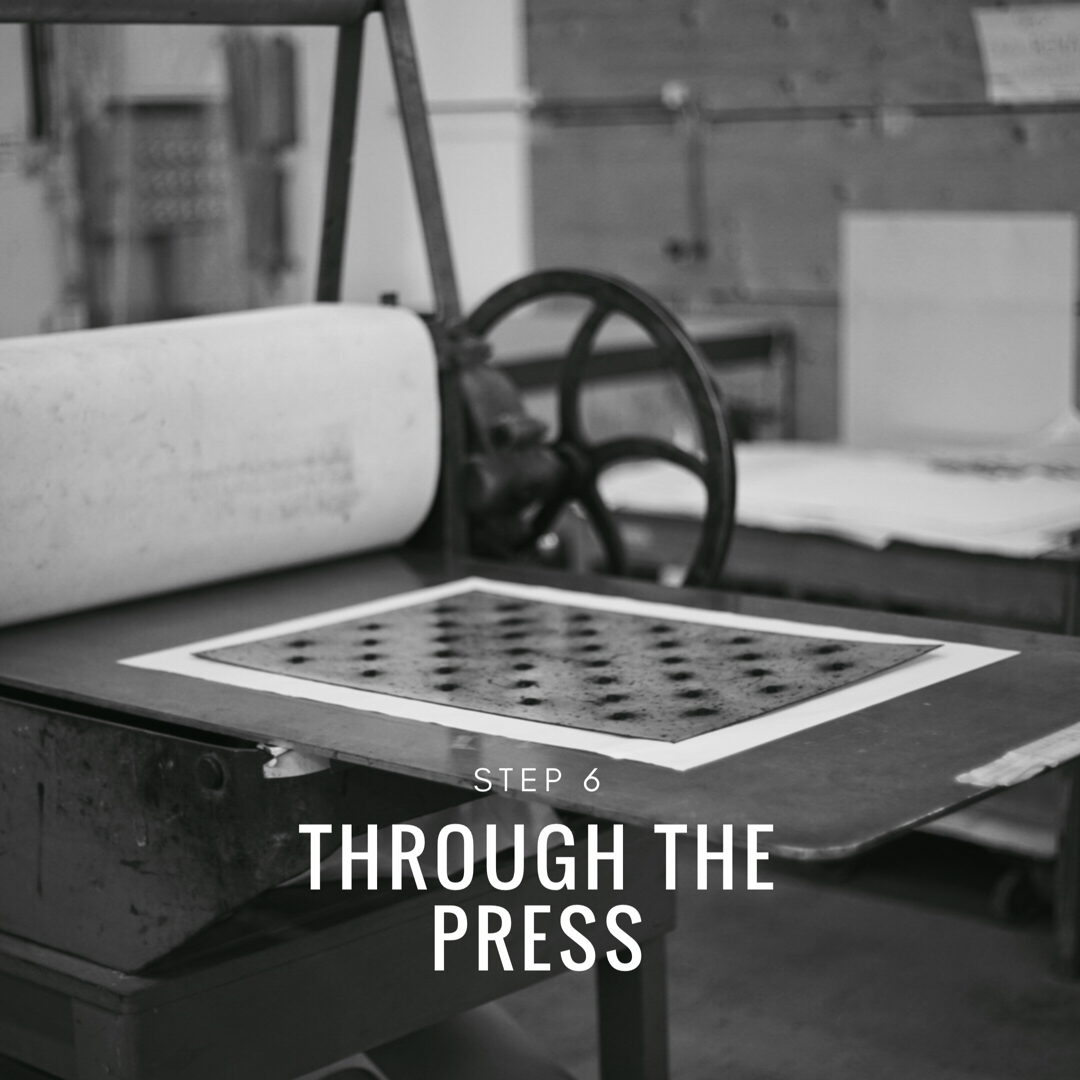
6. Putting the inked plate at the press, the moistened paper above and then one or more layers of blankets depending on the press and the height of the plate.
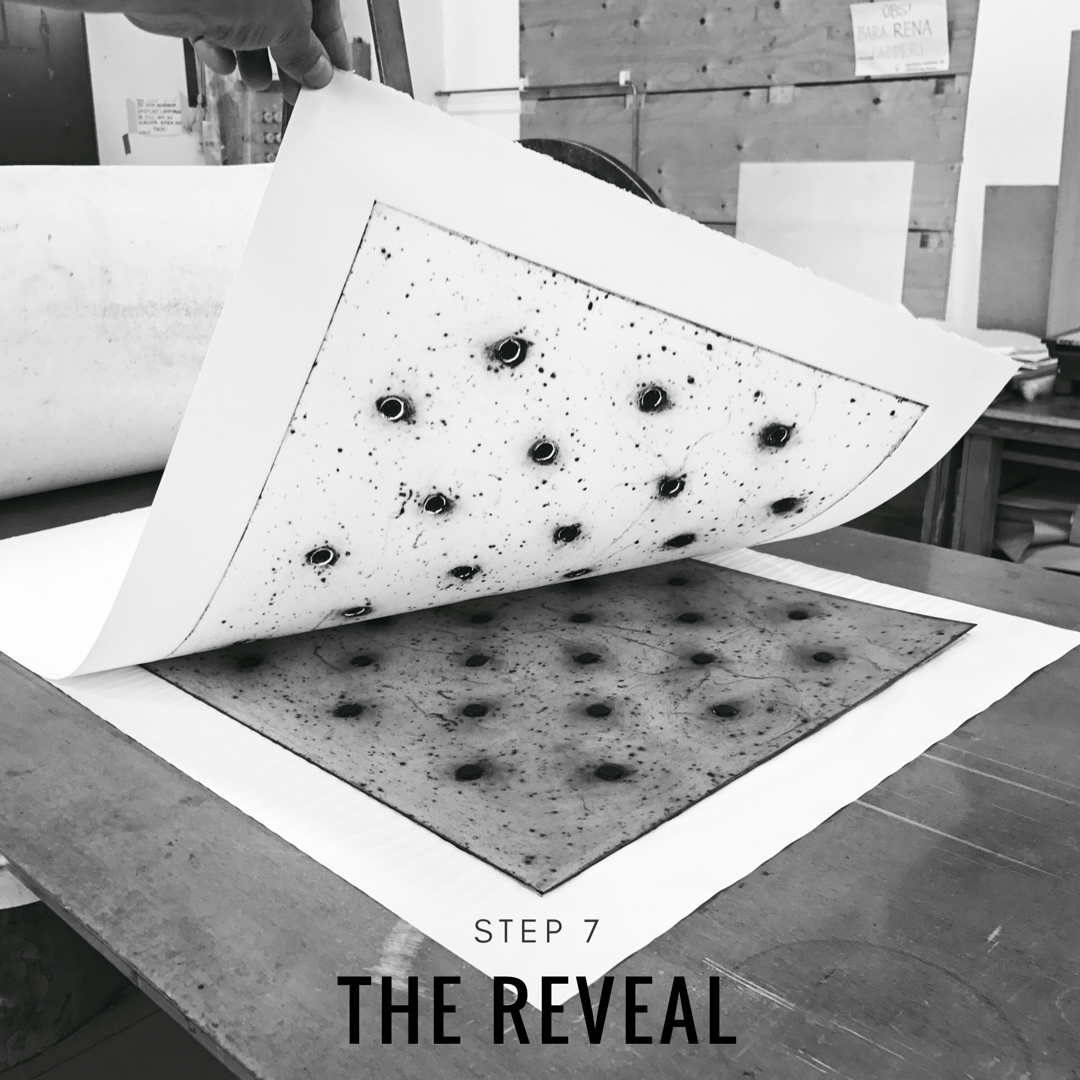
7. Through the press and out on the other side, now it's time for the reveal! No dirty hands on the final print please or this will spoil all the hard work.

8. Now it's time to put the print out to dry.
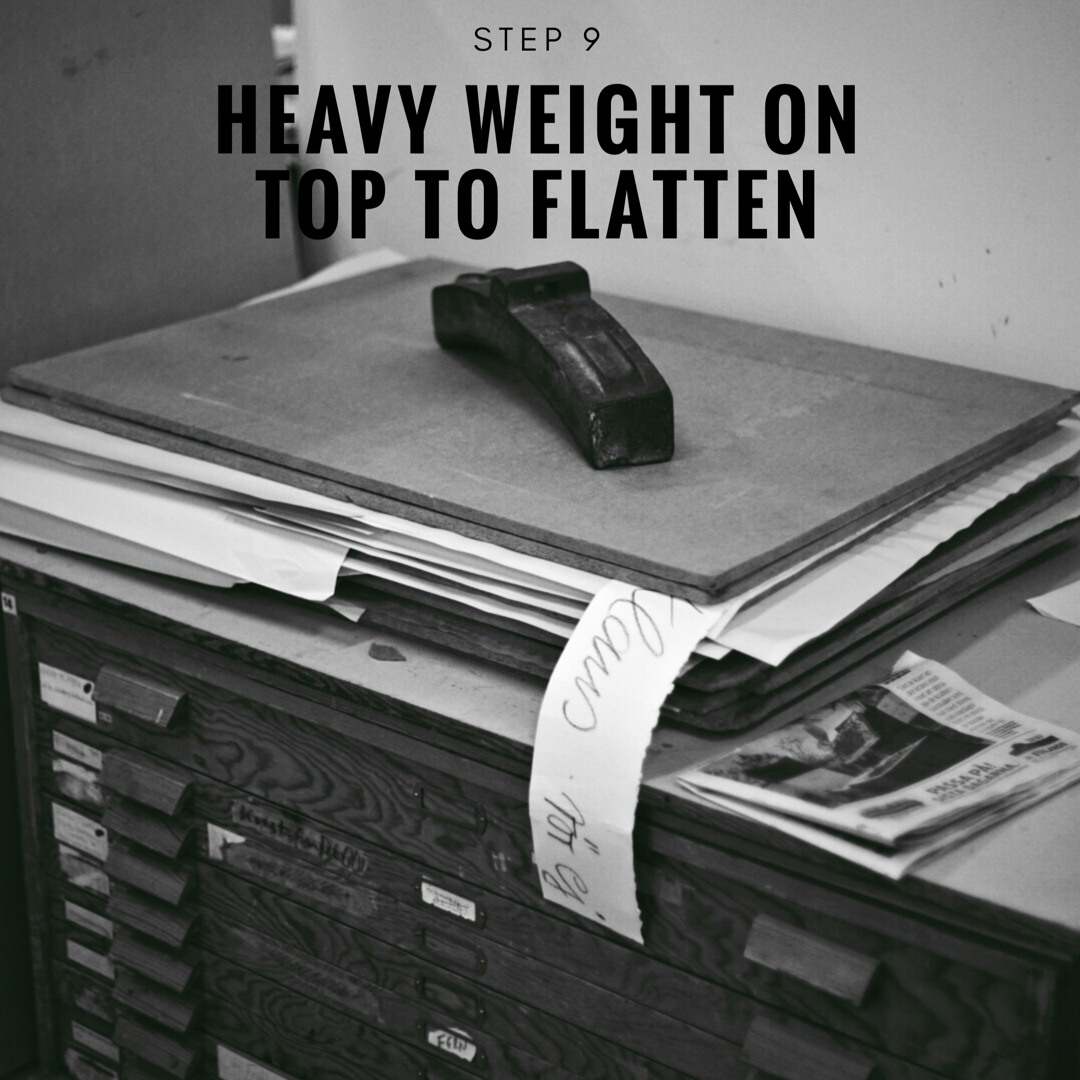
9. The final step is to put a heavy weight on top to flatten the print while it dries!
If you have enjoyed this post and want to receive emails to inspire a more creative life, join my community by clicking the button below: